Google Docs doesn’t have an envelope printing setting, which is a shame given that envelopes are still widely used even with the presence of email technology. To solve this, we’ll teach you three easy tricks on how to print envelopes in Google Docs.
Looking to upgrade your printer? We highly recommend checking out Epson’s extensive line of printers, ranging from compact and efficient home printers to large multifunction printers for your business.
Table of Contents
Method 1: How to Print Envelopes in Google Docs with Mail Merge
People often use Mail Merge to personalize their emails, especially when sending them in large batches. It requires you to create a data source — a spreadsheet — containing the information of your recipients. Then, it automatically retrieves this information and inserts them into your emails.
While this method is more commonly used in emails, it also has a Google Docs-compatible version. Floor the steps below to use it for envelope printing:
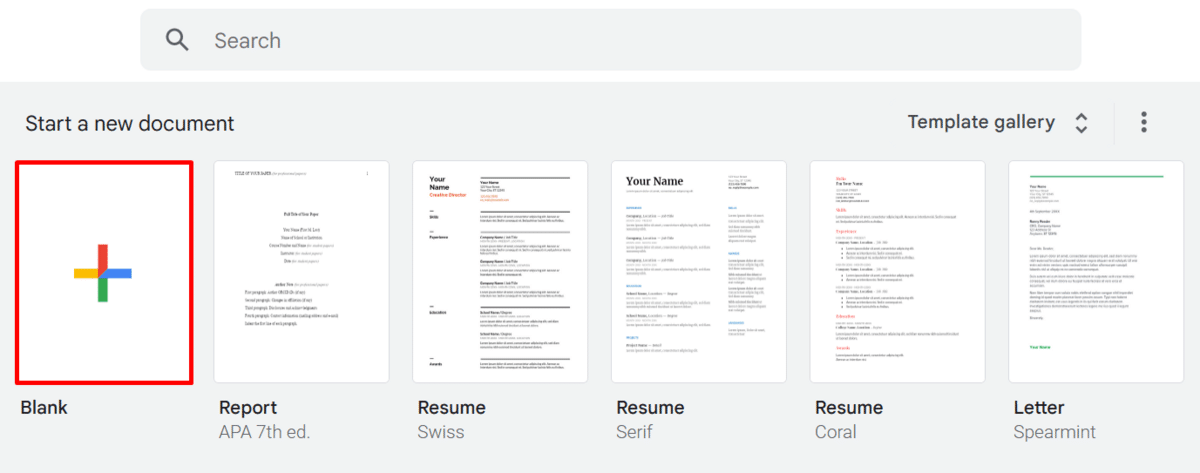
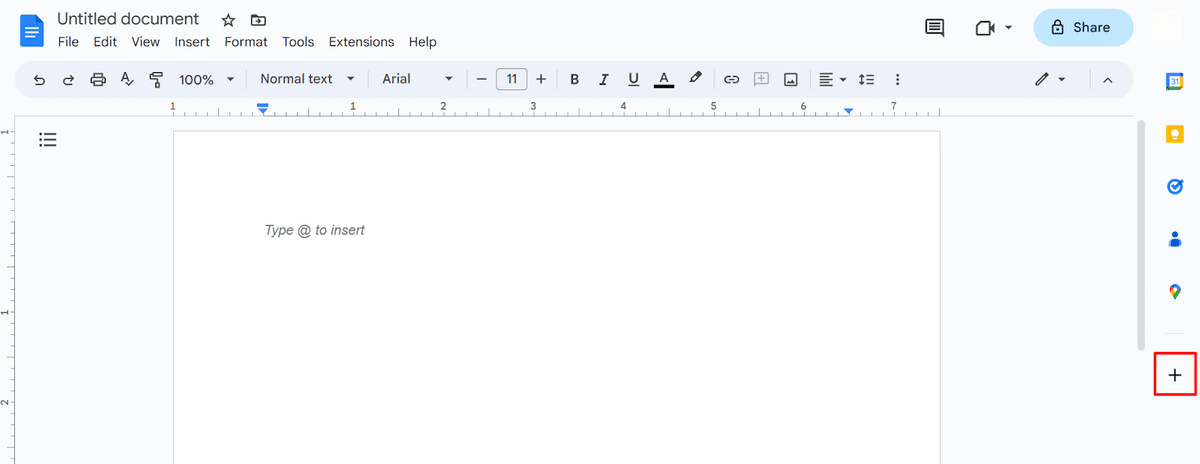
Step 1: Create a New Document
- Go to https://docs.google.com/.
- Start a new document by clicking on “Blank.”
- Don’t make any changes to your new document yet.
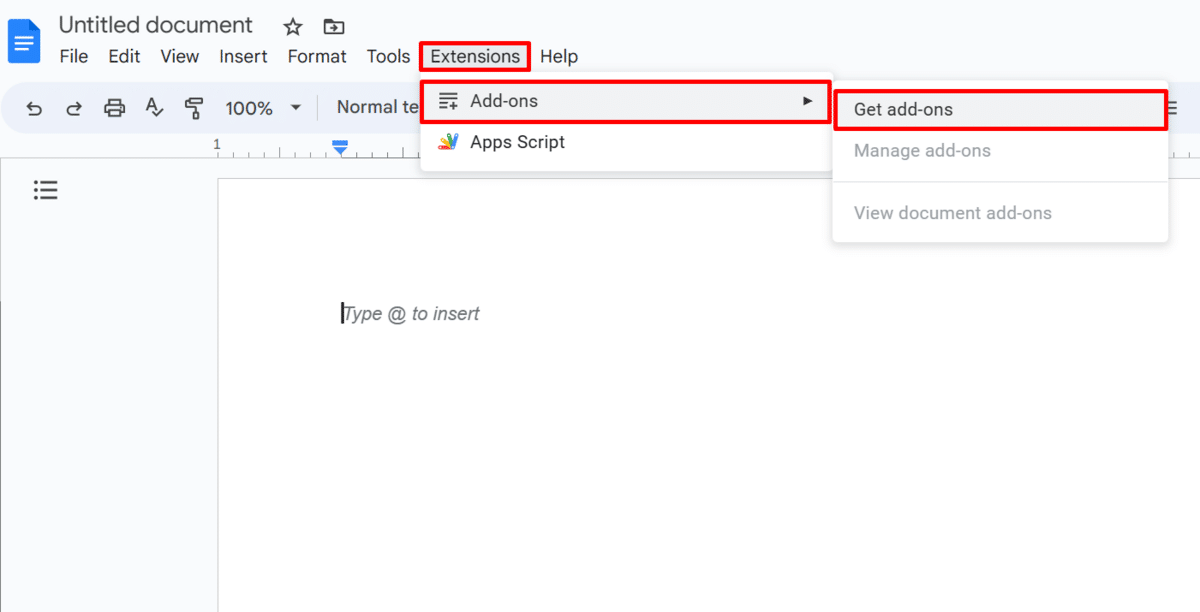
Step 2: Install Mail Merge for Google Docs
Before proceeding below, note that you may have to give access permissions to the add-on for you to use it. If you’re uncomfortable about this, you can download our Google Sheets Envelope Template below.
To install Mail Merge in Google Docs, simply follow the steps below:
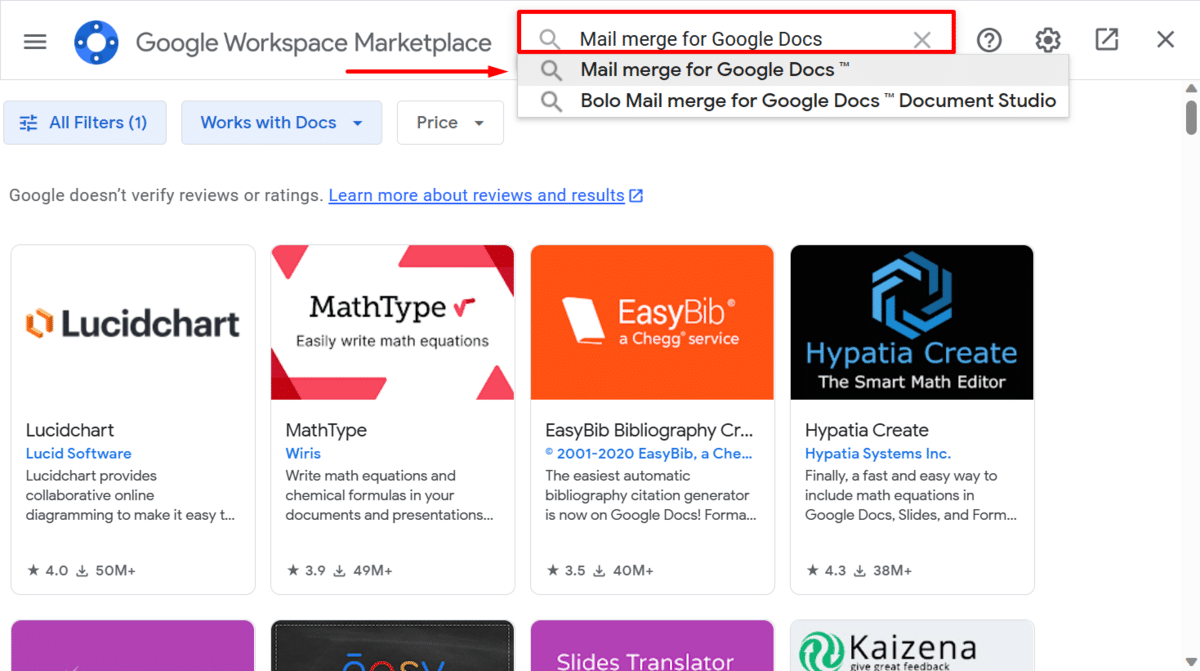
- On the menu bar, click on “Extensions” > “Add-ons” > “Get add-ons.”
- Alternatively, simply hit the “Get Add-ons” button (denoted by a plus (+) icon) on the sidebar at the right.
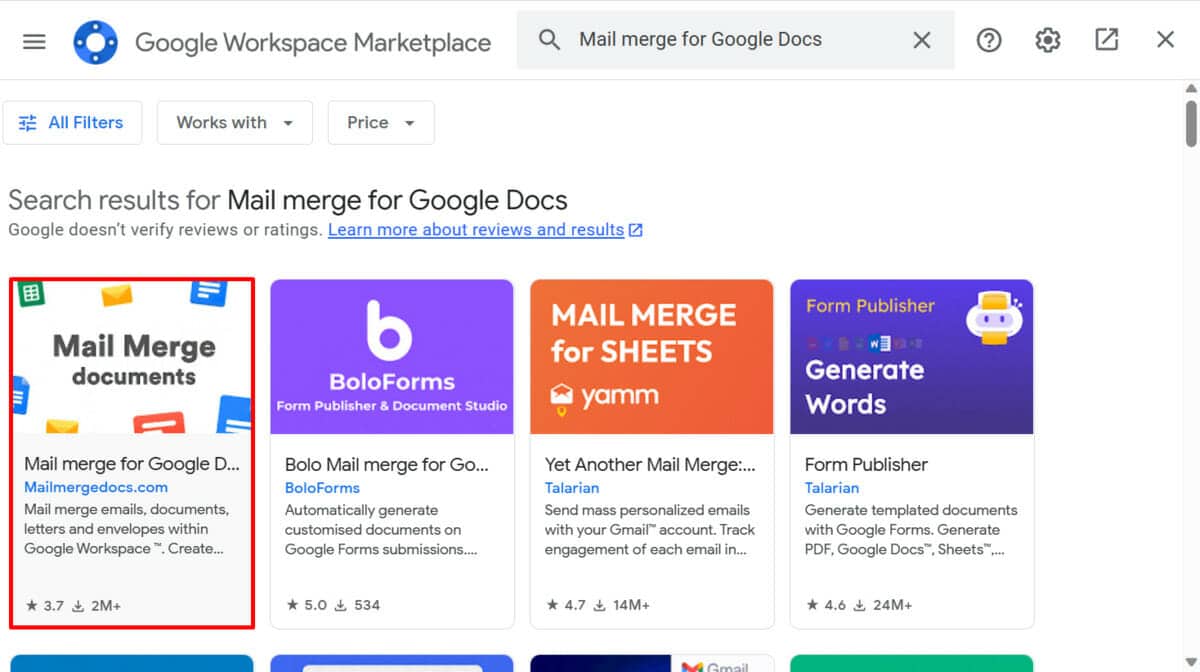
- Click on the search bar, type “Mail merge for Google Docs,” then press “Enter” or “Return” on your keyboard.
- Select “Mail merge for Google Docs™.”
- Hit the “Install” button, then follow the installation instructions to proceed with the add-on.
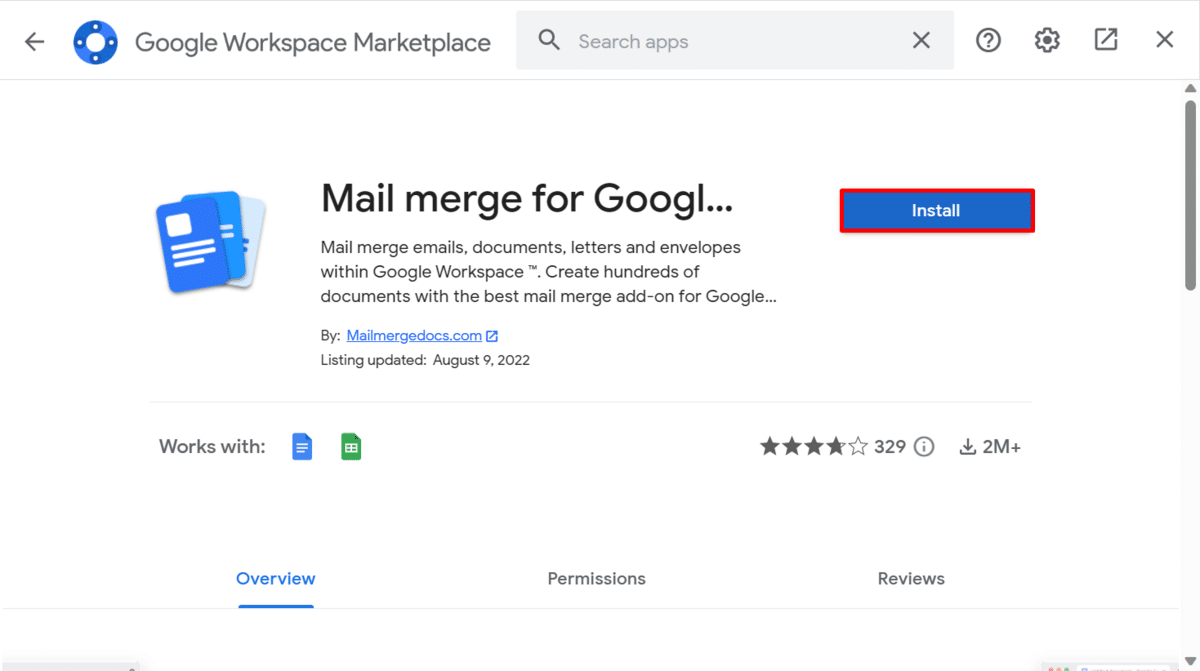
- In case its icon doesn’t appear on the sidebar, refresh your current tab.
Related: Mail Merge in Google Sheets: Easy Step-by-Step Guide 2024
Step 3: Select an Envelope Size Using Mail Merge for Google Docs
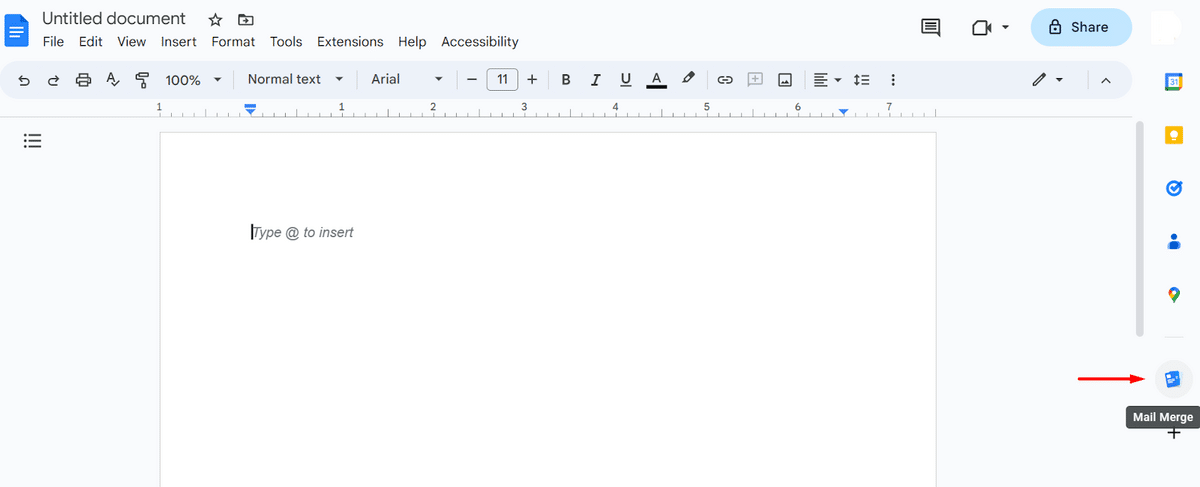
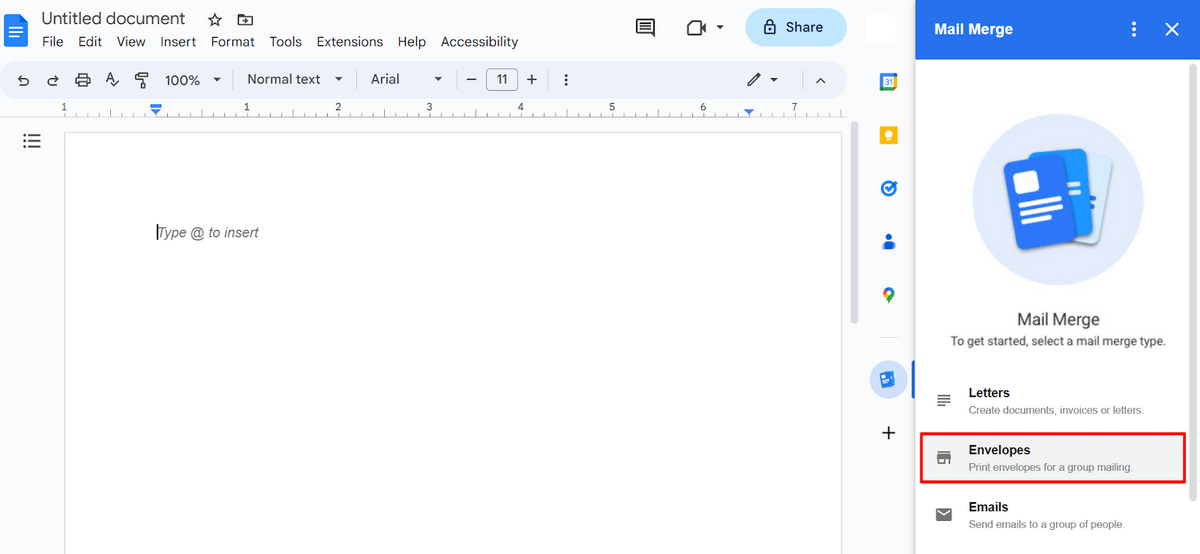
- Click “Mail Merge” on the sidebar.
- Select “Envelopes” from the Mail Merge selection that appears on a side panel.
- Pick your preferred size from the drop-down menu under “Envelope size.” (We’ll use Size 10 in this example, as it’s one of the most commonly used sizes for mailing.)
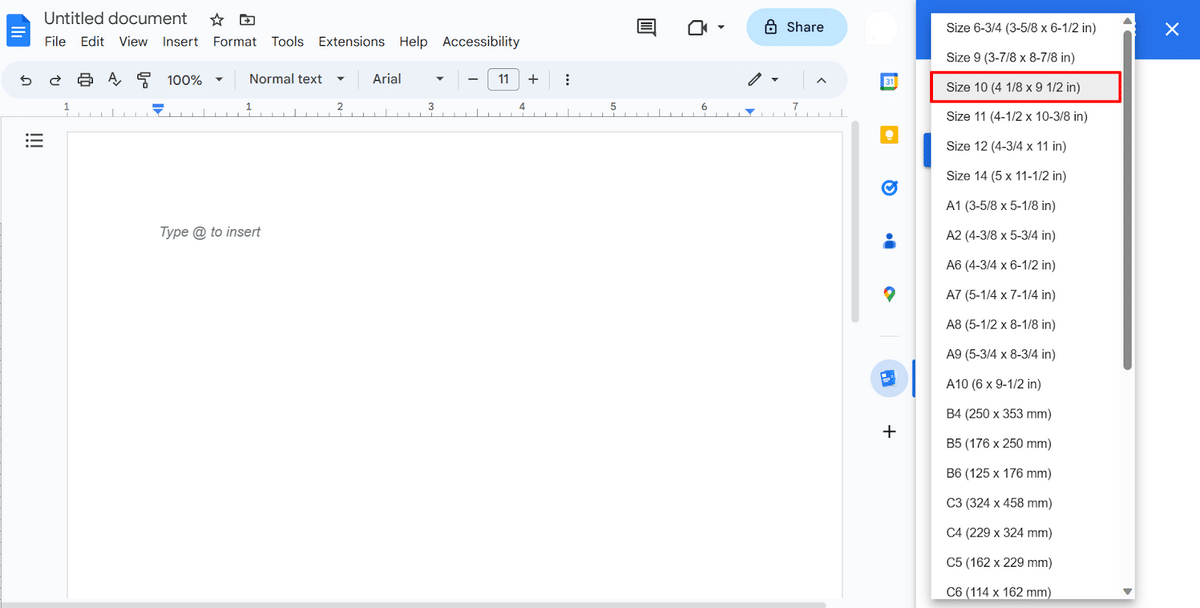
- Hit the “APPLY” button once finished.

Step 4: Enter Your Envelope Details
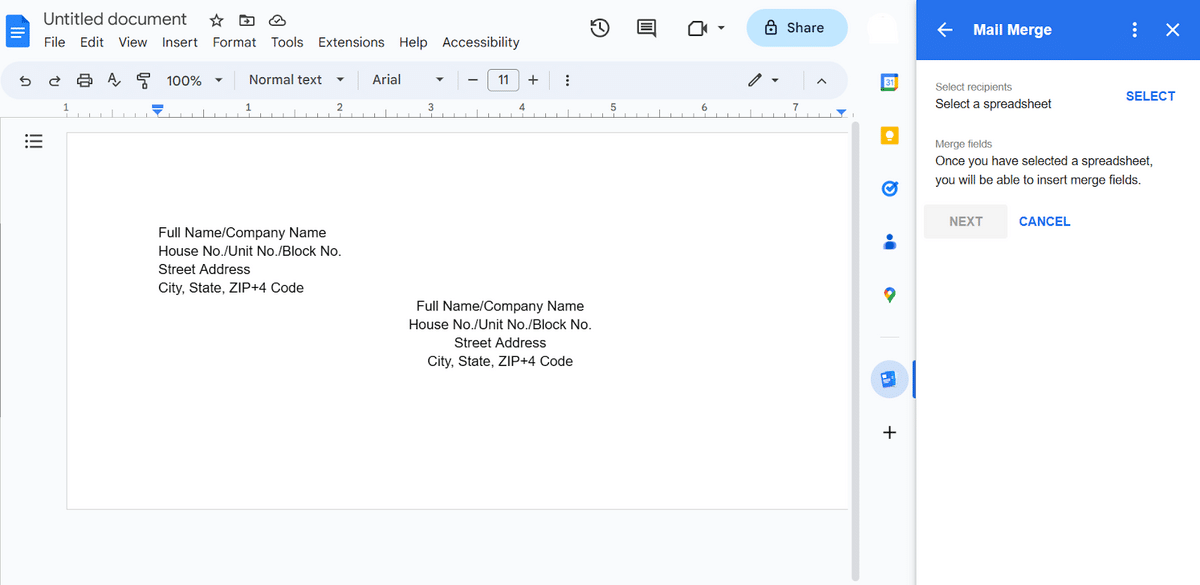
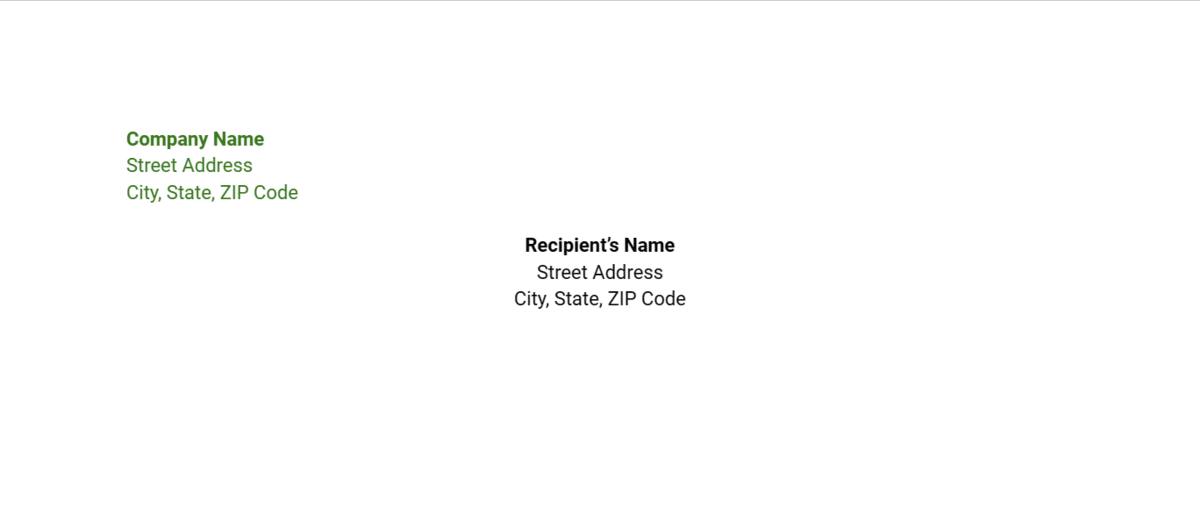
At this point, all you need to do is to insert the necessary details on your envelope. In this case, we have formatted our example below according to USPS standards. Make sure to include the following:
- Return address: This is printed on the top-left corner of your envelope. It consists of your name, street address, city, state, and ZIP+4 code.
- Recipient address: Place this in the center of your envelope on the line below the return address. Include your recipient’s name, street address, city, state, and ZIP+4 code.
Related: How To Print Labels From Google Sheets [Quick Guide] 2024
Optional: Use a Mailing List to Auto-Fill Your Envelope Addresses
The steps above only allow you to modify the paper size on your Google document. But that isn’t the main feature of Mail Merge. Did you know that you can actually use it to automatically enter your envelope names and addresses from a mailing list? Here’s how.
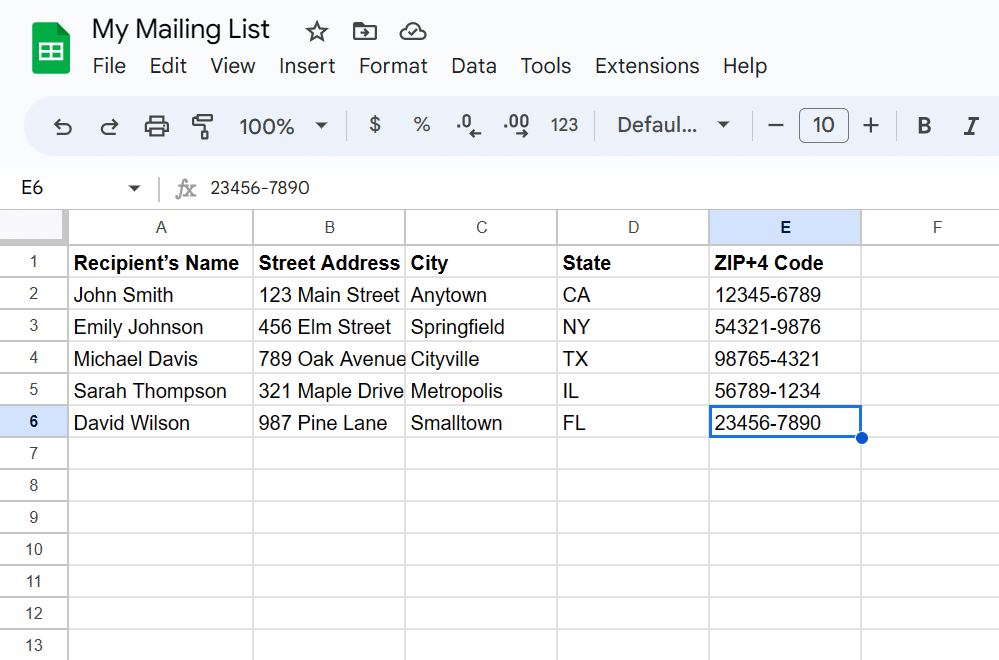
Set Up Your Mailing List on Google Sheets
It’s best to set up your mailing list prior to using Mail Merge for Google Docs. This makes it more convenient for you to add your merged fields. If you haven’t set up any mailing lists before, here’s how to start one:
- Go to https://sheets.google.com/ and start a new spreadsheet.
- On the first row of your worksheet, type the following column headers:
- Recipient’s Name
- Street Address
- City
- State
- ZIP+4 Code
- Fill the cells under these column headers with your recipients’ mailing information.
Configure Your Merge Fields
The column headers that you entered in your spreadsheet would serve as your merge fields. Keep them clean and simple to prevent unwanted errors. Once you’ve done this, you can add them to your document. Here’s how to do it:
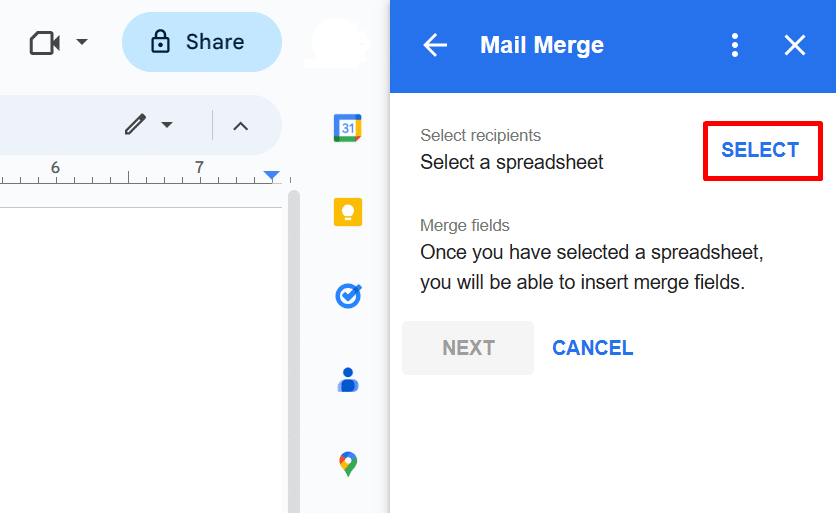
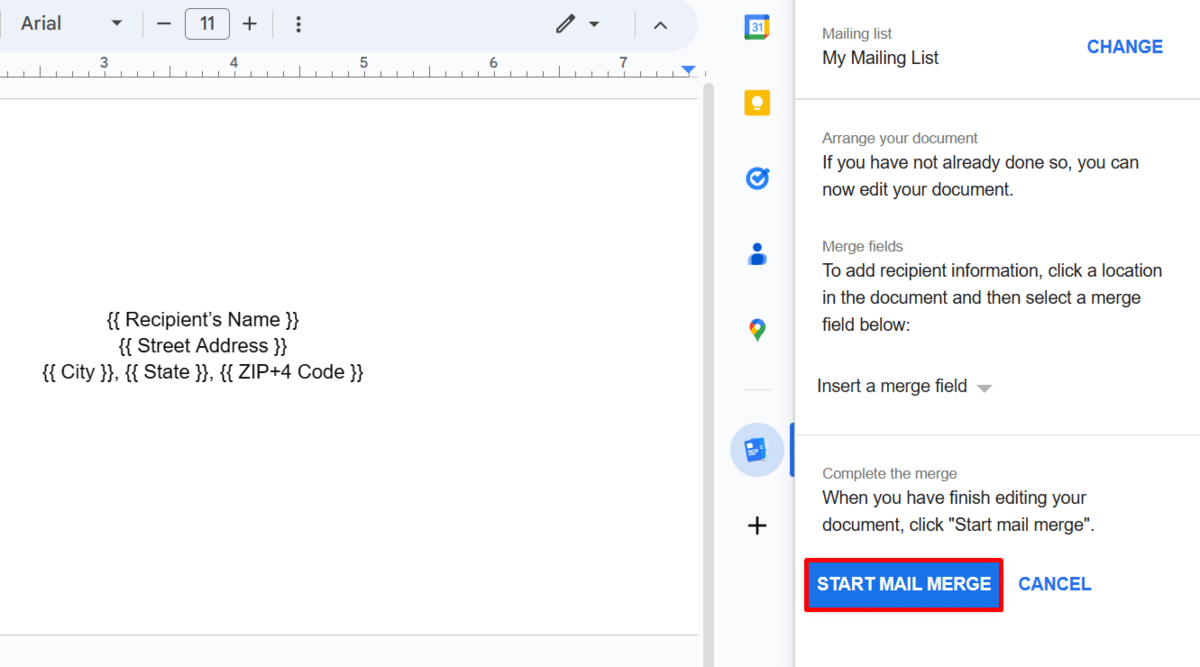
- Go back to your Google document, then hit the “SELECT” button under the “Select recipients” field.
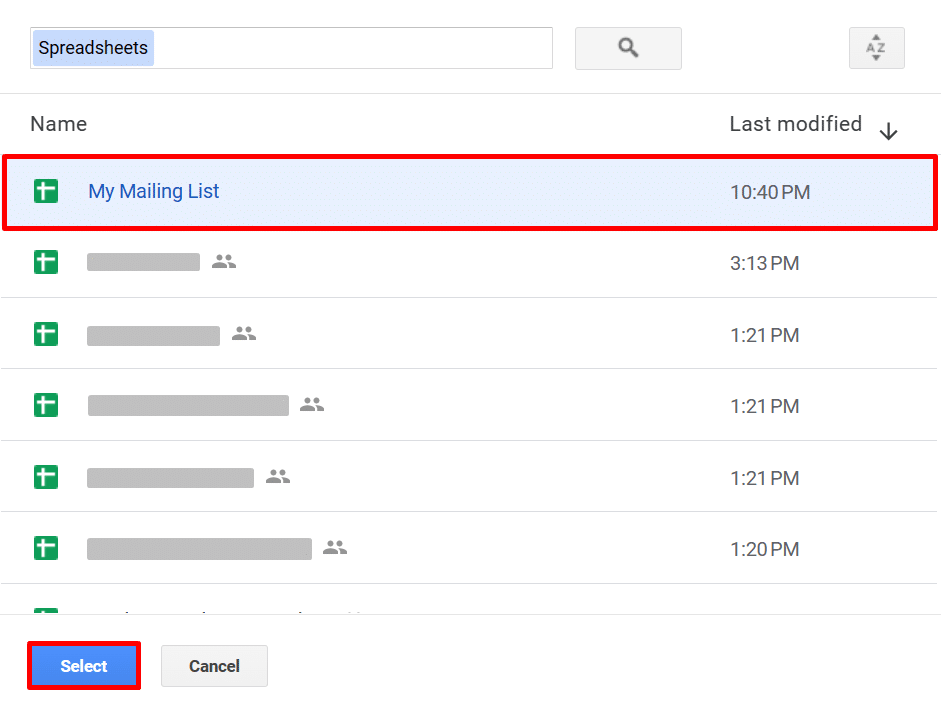
- Select your mailing list spreadsheet from the new window that appears.
- Click on the “Select” button.
- Open the drop-down menu for “Insert a merge field” and choose the fields you want to be included in your envelope.
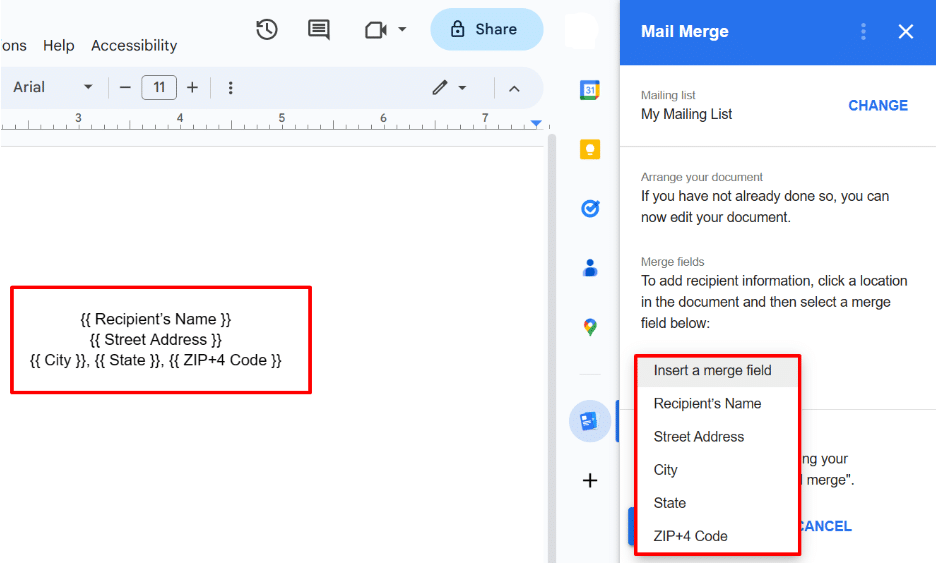
- Hit the “START MAIL MERGE” button once you have configured your merge fields.
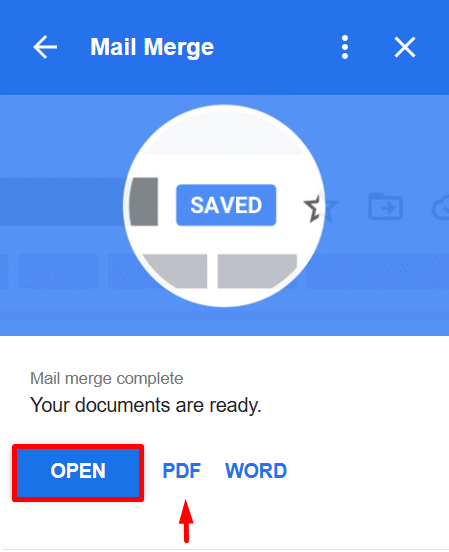
View Your Mail-Merged Document
To view your auto-filled envelope printing document on Google Docs, click the “OPEN” button on the sidebar. You can also click the “PDF” button to download your mail-merged document in a portable format.
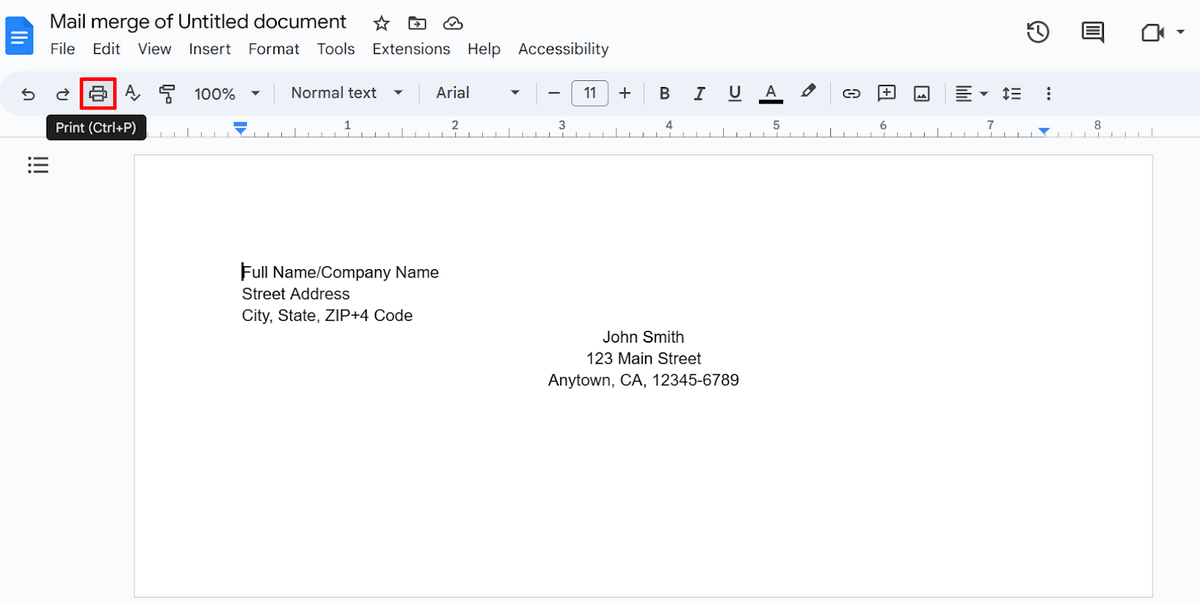
Print Your Envelopes
You can now print your envelopes. To do this, click on the printer icon on the toolbar. Another way to do it is by simply pressing “Ctrl” + “P” (or “Command” + “P” for Mac) on your keyboard.
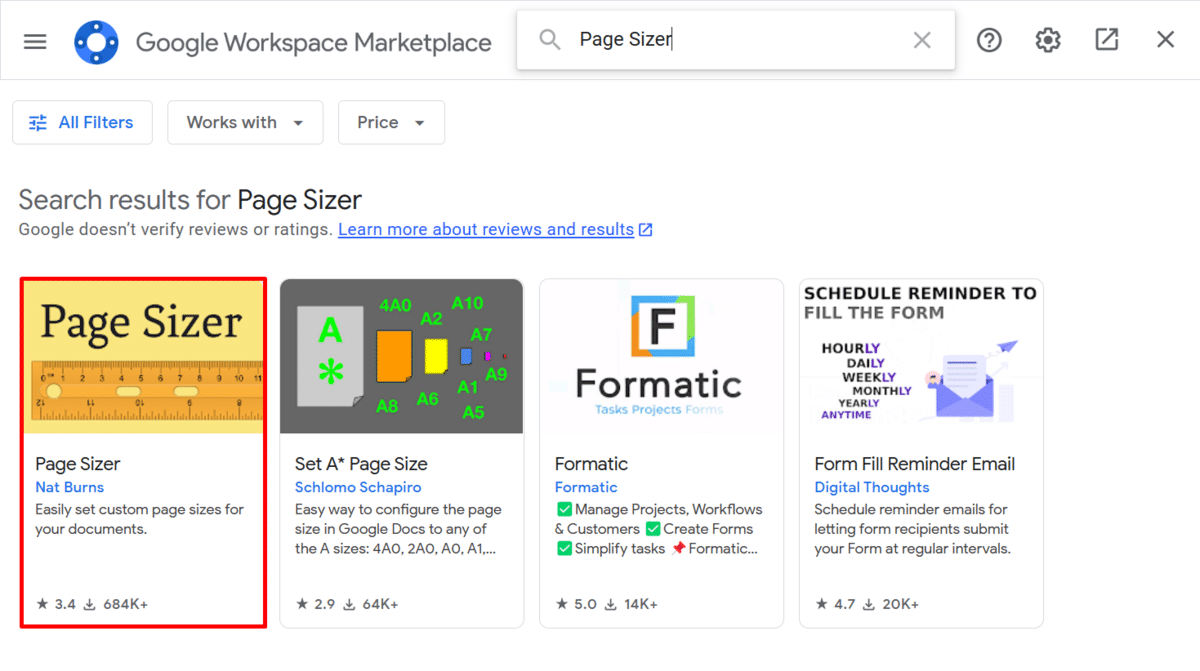
Method 2: Envelope Printing Using Page Sizer
Another Google Docs add-on that you can try is Page Sizer. Note that access permissions may be required when using this add-on. If you’re okay with that, follow the steps below to use it for your envelope printing:
- Go to https://docs.google.com/ and start a new document.
- Click on “Extensions” > “Add-ons” > “Get add-ons.”
- Type “Page Sizer” on the search bar, then press “Enter” or “Return” on your keyboard.
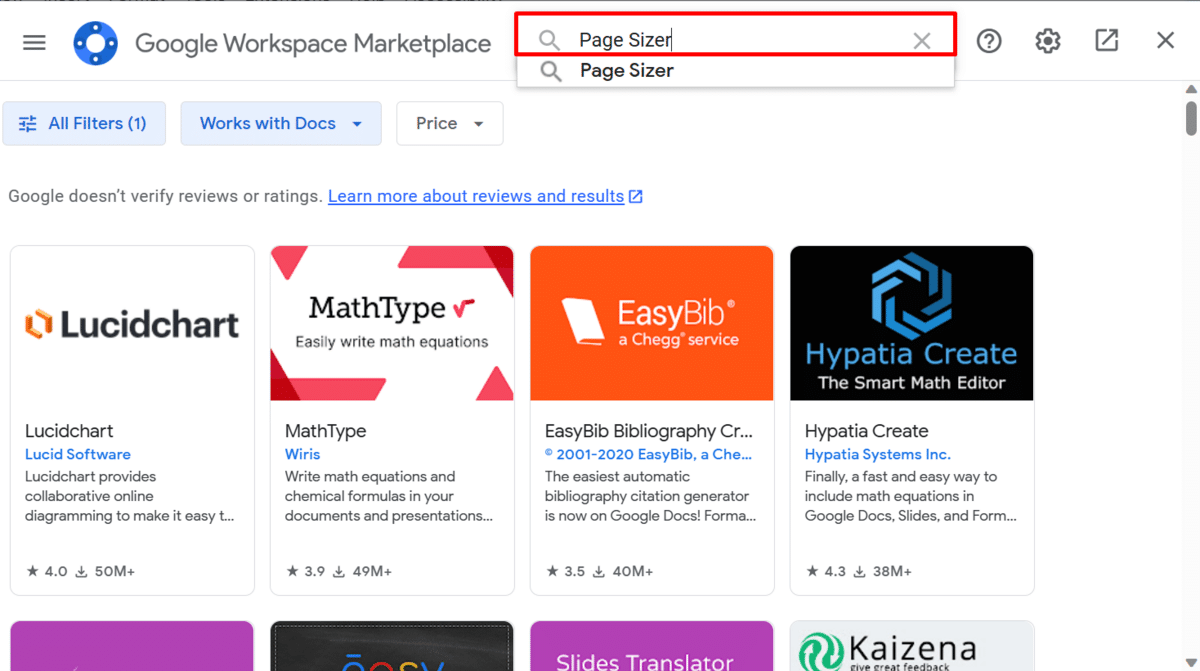
- Select “Page Sizer” from the results.
- Click on the “Install” button and follow the necessary instructions displayed on your screen.
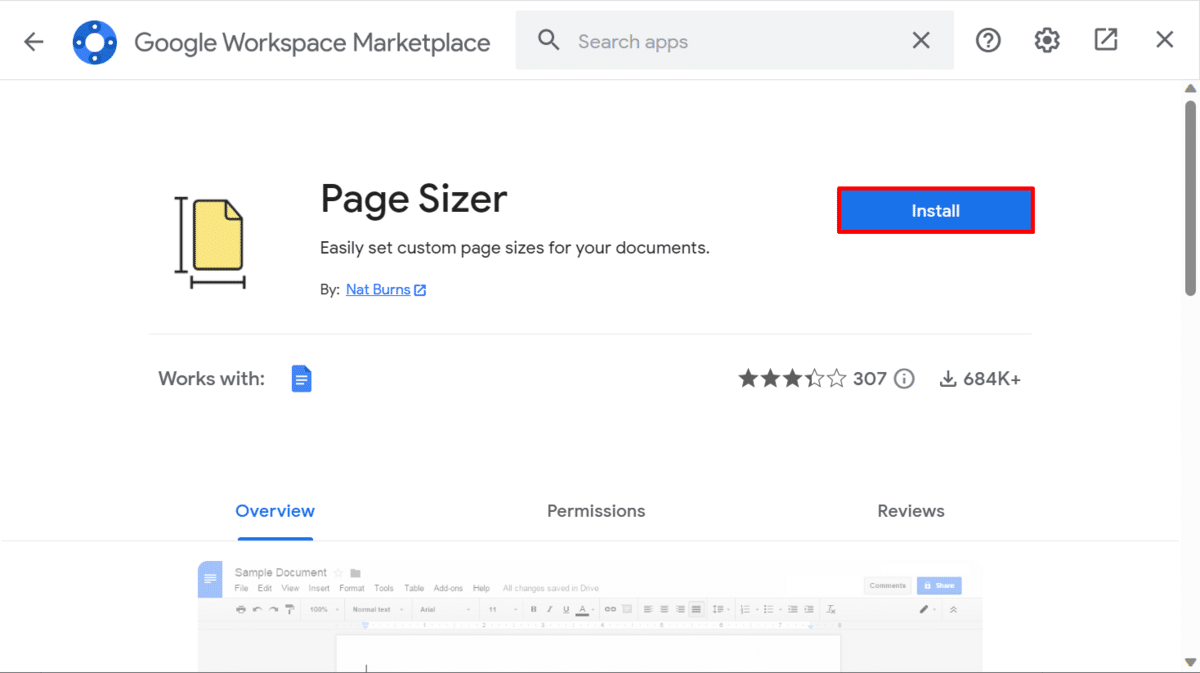
- Click on “Extensions” > “Page Sizer” > “Set page size….”

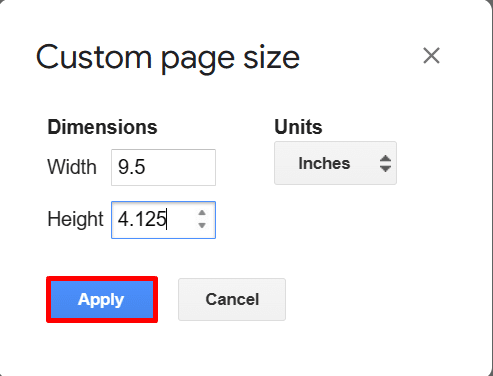
- Enter the dimensions of your preferred envelope size in the “Custom page size” dialog box.
- Hit the “Apply” button once set.
- Indicate your return address and the recipient’s address.
- Once there are no more errors, click the “Print” icon on the toolbar or press “Ctrl” + “P” (or “Command” + “P” for Mac) on your keyboard.
Method 3: Google Docs Envelope Template
If you find the processes above troublesome, your last option is to use an envelope template in Google Docs. Unfortunately, this is not something that you can find in the Template Gallery on the platform. Instead, you can use our custom-made Google Docs envelope template!
This template follows the format of a Size 10 envelope (4.125 inches by 9.5 inches). We have already formatted the return and recipient address in the template. You just need to replace them with your own details.
Final Thoughts
It’s a pity that Google Docs has yet to include envelope sizes in its page setup options. Still, you can bypass this lack of feature by learning how to print envelopes in Google Docs using the methods that we’ve discussed in this article.
Looking for powerful Google Sheets templates? Check out our premium templates today. Don’t forget to use the code “SSP” to save 50% off on all templates!
Related: