Google Docs is one of the best word processors out there, except it lacks a feature that lets you directly overlap images. When users try to add a logo or a watermark on top of another photo, they have to go through more steps compared to other tools like Microsoft Word.
There are two methods available for image overlaying:
- Using the Google Docs drawing tool
- Adjusting your text-wrapping options
Let’s discuss each method in detail below!
In a hurry? Here’s a quick guide on how to overlap images in Google Docs:
- Insert your images.
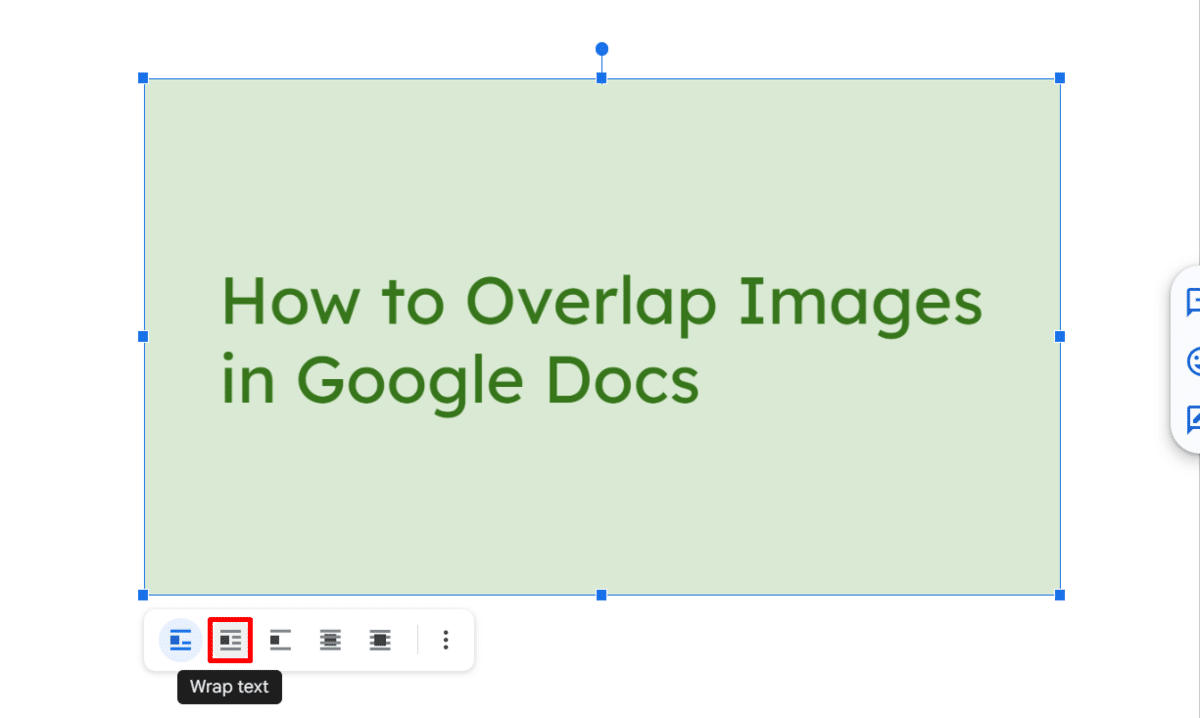
- Set their text-wrapping options to “Wrap text.”
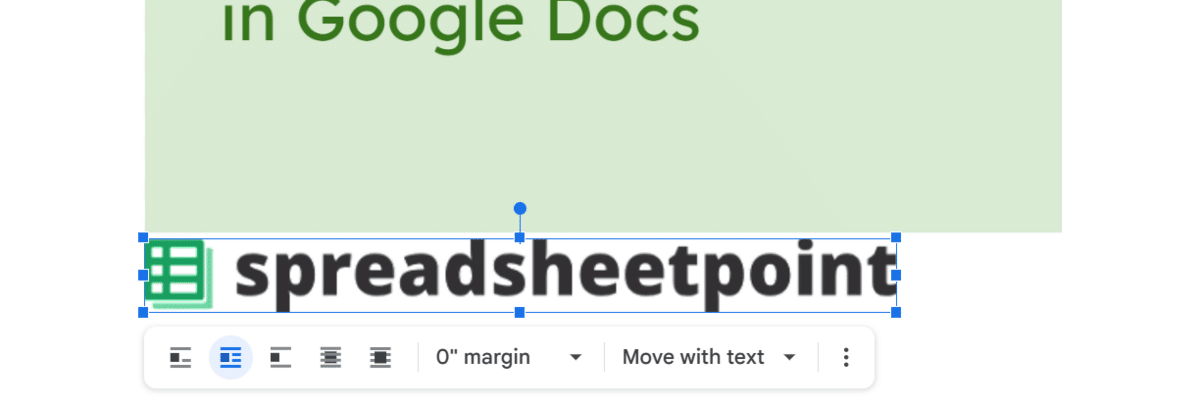
- Set image margins to “0” for both photos.
- Drag one image on top of the other to finish.
Table of Contents
How To Overlap Images on Google Docs Using the Drawing Tool
Google Docs allows you to insert multiple images inside a drawing, where you can freely position them on top of one another. Here’s how to overlay pictures in Google Docs using the drawing tool:
- Launch your browser and go to docs.google.com.
- Open the file where you want to put an image on top of another.
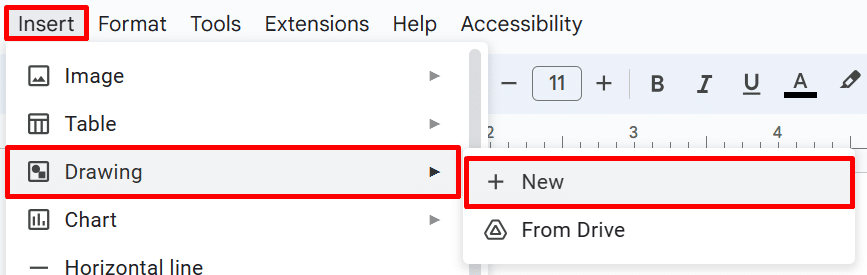
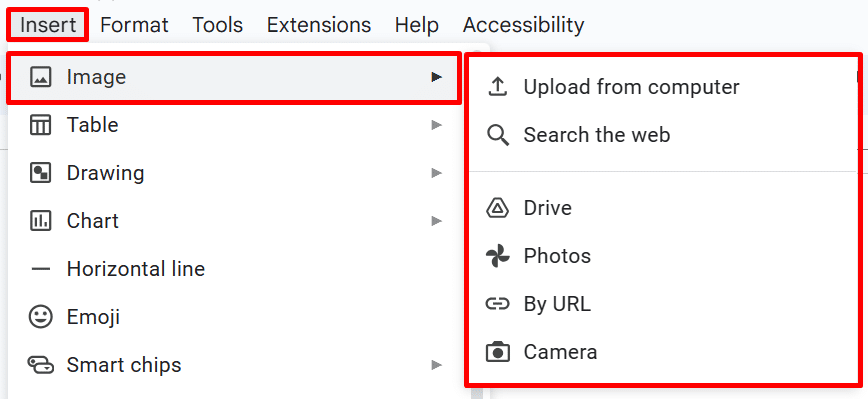
- Choose “Insert” in the menu bar.
- Select “Drawing” and choose “New” from the drop-down menu.
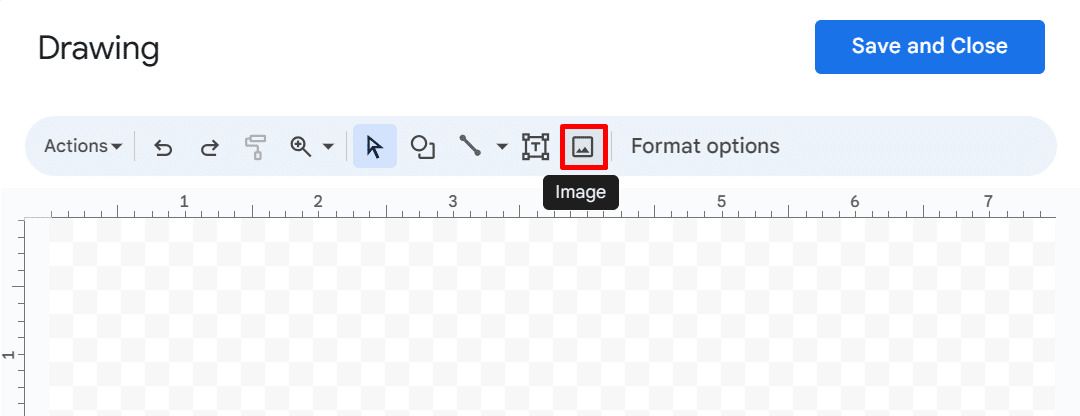
- In the “Drawing” panel, click the “Image” icon in the toolbar.
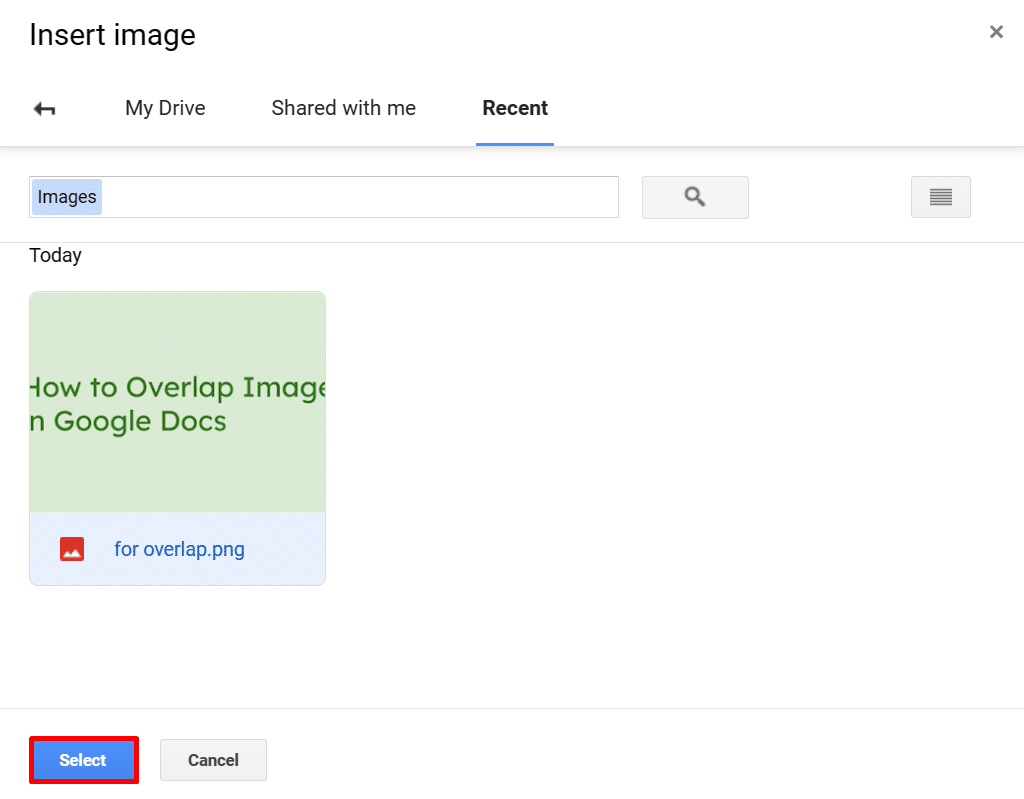
- Choose your preferred source and select the desired photo from the “Insert image” panel.
- Click the “Select” button to complete the insertion.
- Now, repeat Steps 6 and 7 to add the picture you want to place on top of the first image.
- Drag the second image toward the first photo.
- Adjust its size and position as needed.
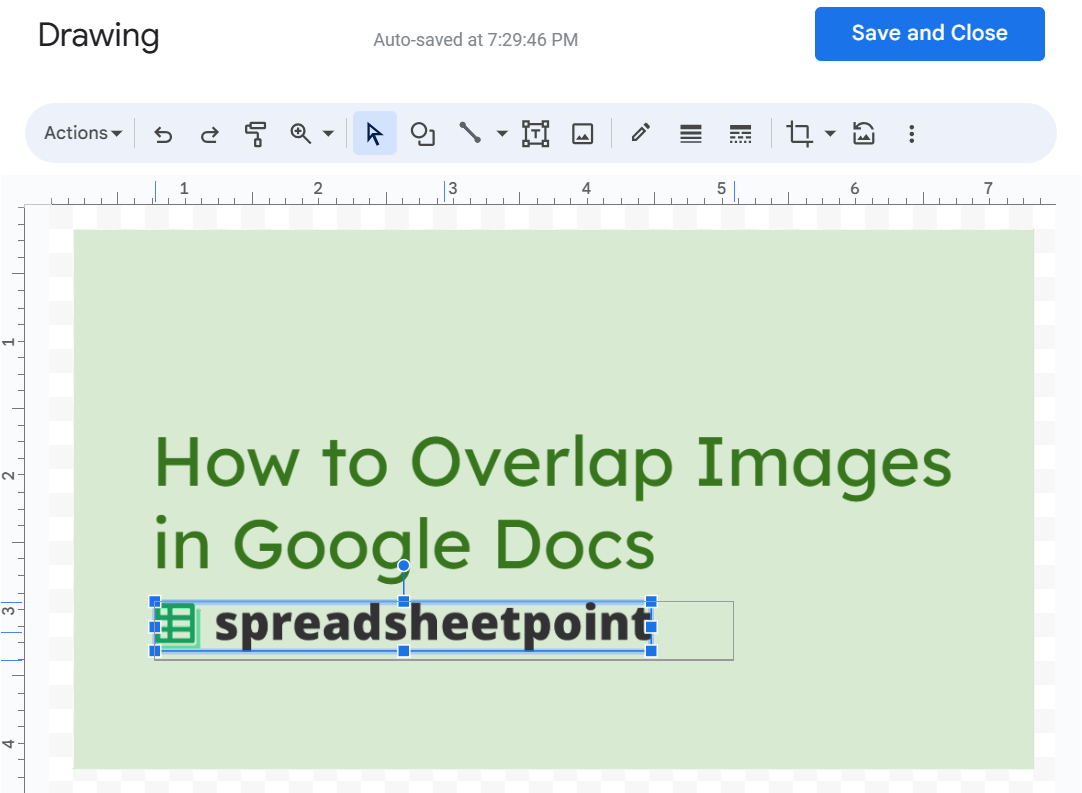
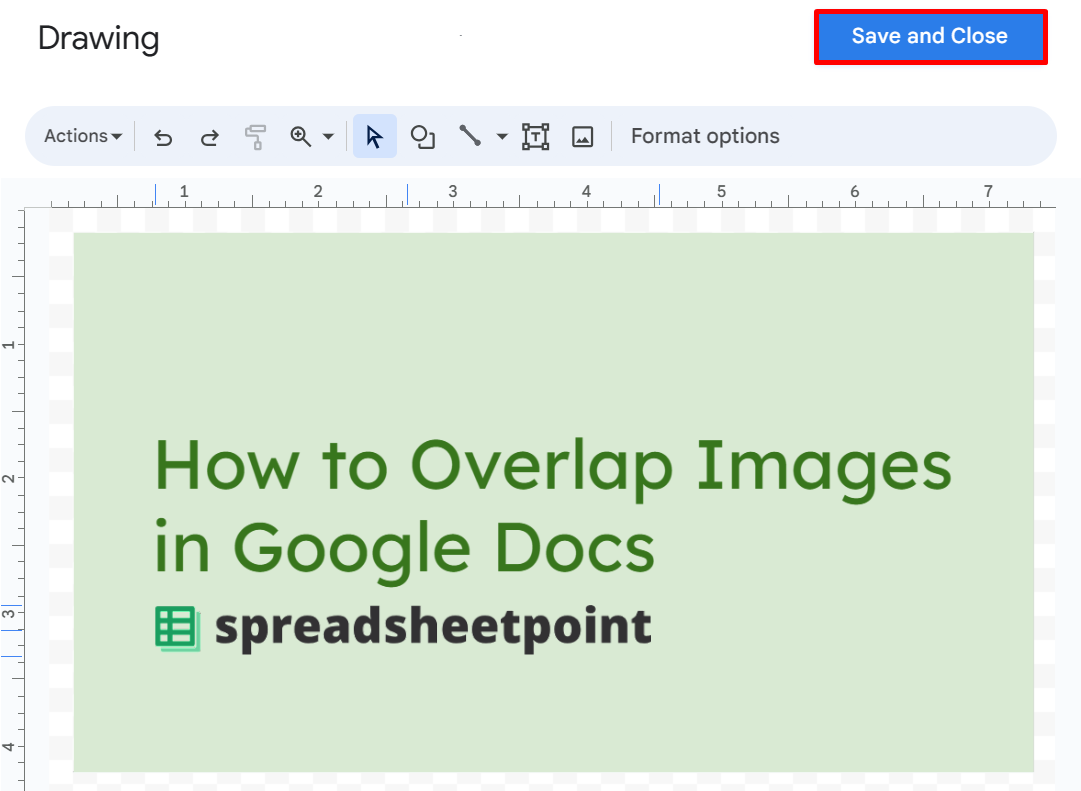
- When you’re satisfied with your overlapped images, click “Save and Close” to finish.
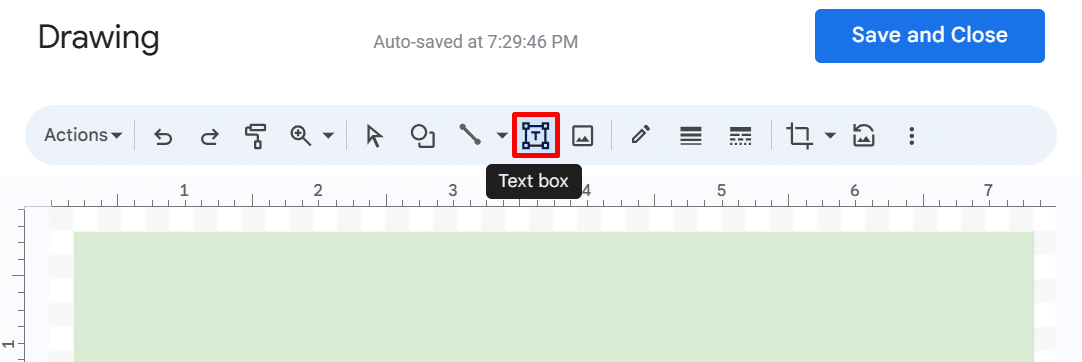
If you’re wondering how to put text over an image in Google Docs, you can actually use the same process as above. However, instead of adding another photo to your drawing, click the “Text box” feature to insert and position the desired text over the image.
Related: How To Draw on Google Docs (2 Unbelievably Simple Ways)
How To Layer Images in Google Docs Using Wrap Text
Another method to overlap your photos in Google Docs is to adjust the text-wrapping options. Specifically, you want to remove the margins from other objects (as demonstrated below) to overlay them.
Here’s a step-by-step guide on how to put one image on top of another in Google Docs using the wrap text feature:
- On your Google Docs document, select “Insert” > “Images.”
- Select your source from the displayed menu, then add your first photo.
- Click “Wrap text” from the available text-wrapping options displayed below the image.
- Open the “Image margin” drop-down, then select “0″ from the margin list.

- Repeat Steps 1 to 4 for your second (or more) image.
- Once done, simply drag one image on top of another.
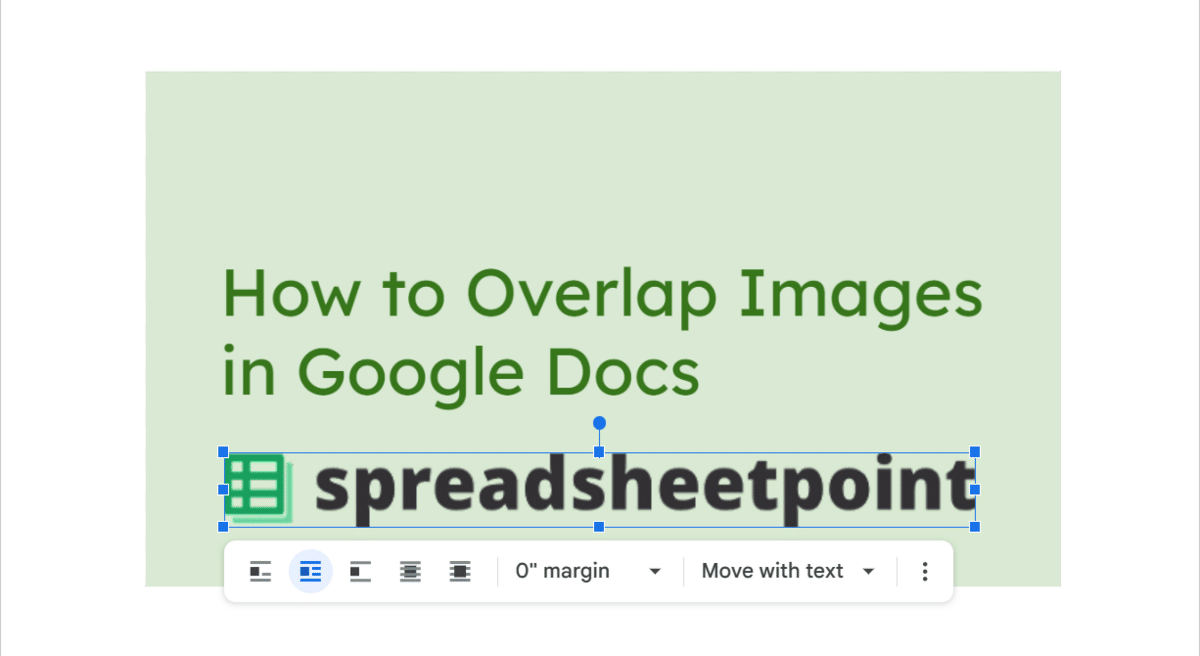
- Adjust size and position as necessary, and you’re done.
Additional Editing Tips to Make Your Work Easier
Given the complexity of the steps involved in overlapping images in Google Docs, it can be inefficient to repeat them multiple times for editing purposes, especially when using the text-wrapping method. To simplify the editing process, here are some helpful tips:
1. Adjust Your Image’s Opacity
If you want to add a watermark on top of your photo, consider reducing the opacity of the watermark to ensure the original image remains visible. Follow these steps to adjust the opacity:
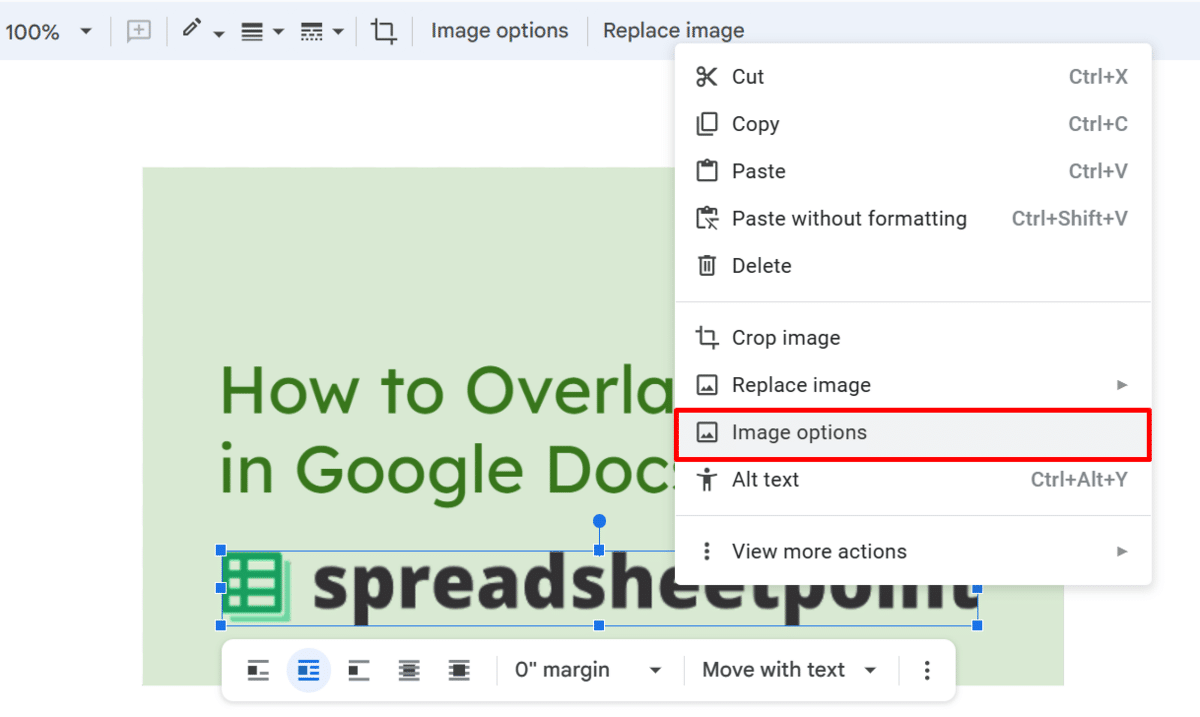
- Right-click your image and select “Image options” from the context menu displayed.
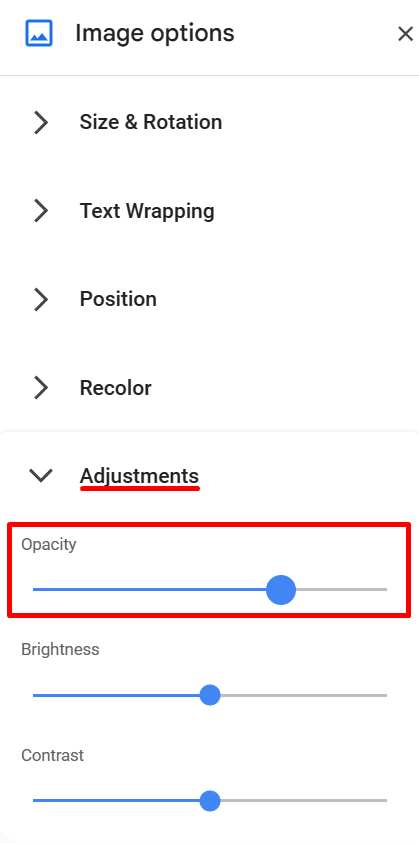
- Open the “Adjustments” drop-down menu.
- Drag the slider for “Opacity” to adjust it to your desired level.
2. Use the “Replace image” Feature
If you have found a better image to overlap in Google Docs but don’t want to repeat the entire process, you can use the “Replace image” feature to swap the image directly without affecting the other photo.
Here’s how to use the “Replace image” feature:
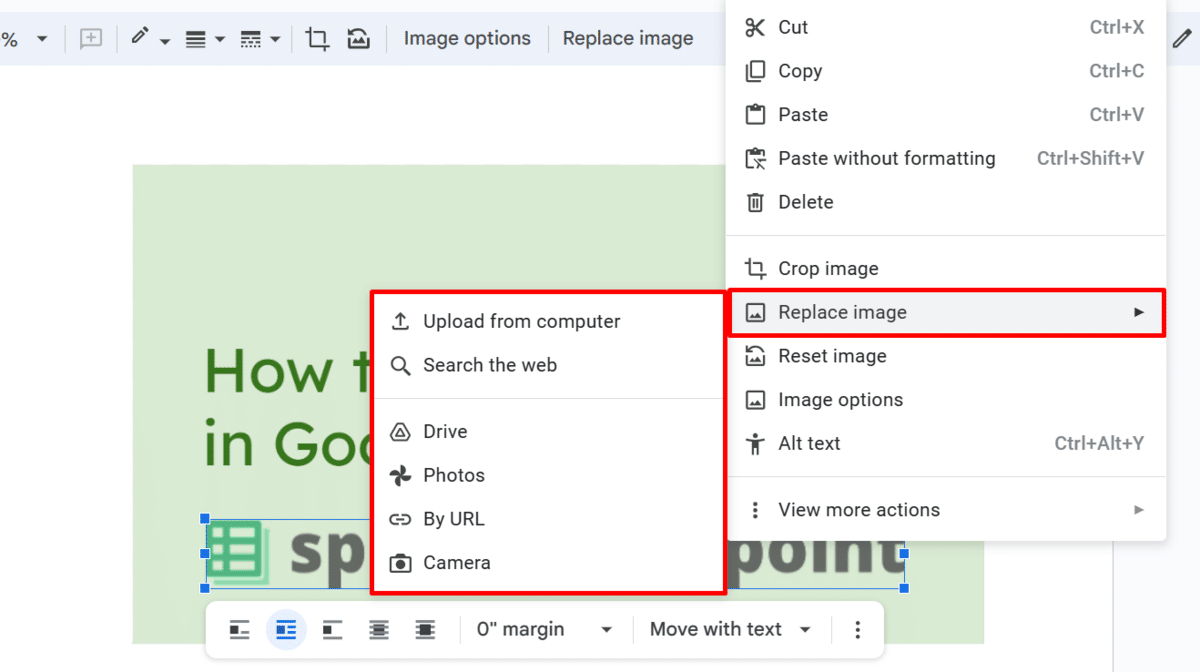
- Right-click the picture you want to change, then select “Replace image” from the context menu.
- Select your preferred image source from the options displayed.
- Upload your photo as instructed, depending on your photo source.
3. Change Image Position Options
Text-wrapping is pretty volatile — your images can move out of position even with the smallest changes in your document. Here’s a way to affix them to their current places:
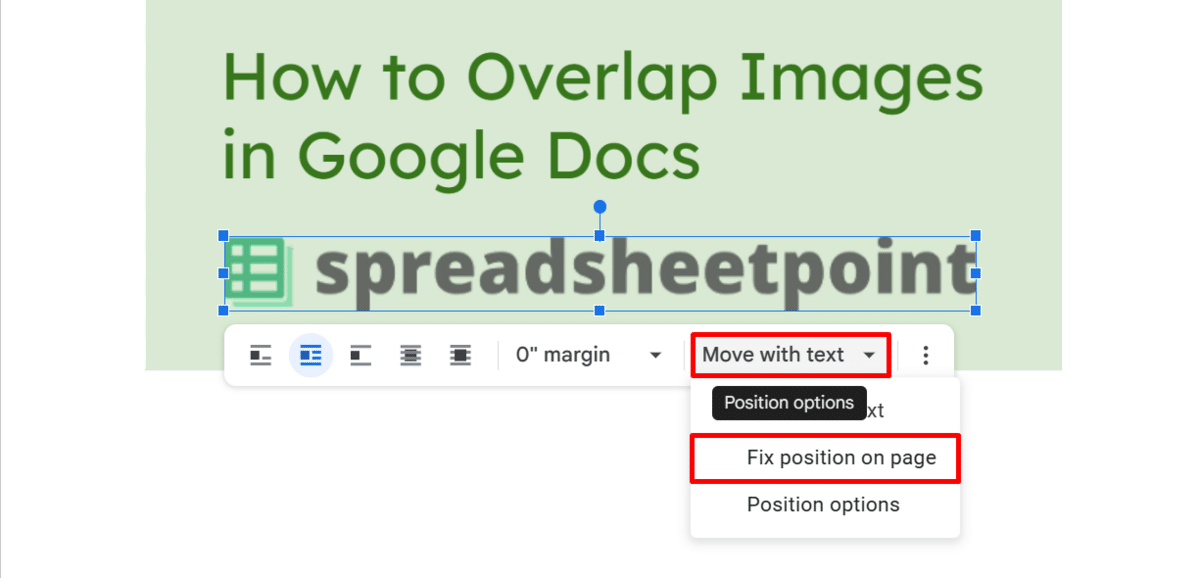
- Click on your image.
- Open the “Position options” drop-down menu, then select “Fix position on page.”
Frequently Asked Questions
Can You Layer Images in Google Docs?
Yes, you can layer images in Google Docs. Here’s how:
- Right-click on your first photo and choose “Image options” from the menu.
- Select “Text Wrapping” > “Wrap text” and set all the margin values to “0“.
- Repeat these steps for the second image.
- Drag one image on top of the other, and you’re done.
How Do I Put a Picture on Top of Text?
To place a picture on top of the text in Google Docs, simply follow these steps:
- Click on the image you want to overlay on top of the text.
- Choose “Image options” from the toolbar.
- In the side panel that appears, select “Text Wrapping” > “In front of text.”
Final Thoughts
Google Docs doesn’t have a feature that directly allows you to overlap your photos, but there are some easy workarounds you can follow.
So, are you ready to get your hands working? Follow our guides above on how to overlap images in Google Docs, and you’re all set.
Keep your productivity levels high by using ready-to-use documents and sheets. Check out our premium templates today and use the code “SSP” to get them at 50% off.
Related: